Zoom for Mac OS
Apple computers and laptops are loved by a huge number of people around the world. As a rule, this is due to the stylish, strict design and its own macOS operating system. There is an impressive library of applications for it, both original and cross-platform (available for Windows and Linux). In this article, we will explore Zoom platform for online meetings. The program installation procedure is not standard and confuses many users. Let’s figure out, how to download Zoom for Mac OS, set it up and connect to the conference.
Instruction
This program is distributed exclusively through the official website. You cannot find it in the «App Store» for computers and laptops, because the developers did not publish it. Just for interest, you can type Zoom into the search box.
Step by step installation guide:
- Go to this page https://zoom.us/download.
- Click on the «Download» button for the Meetings client.
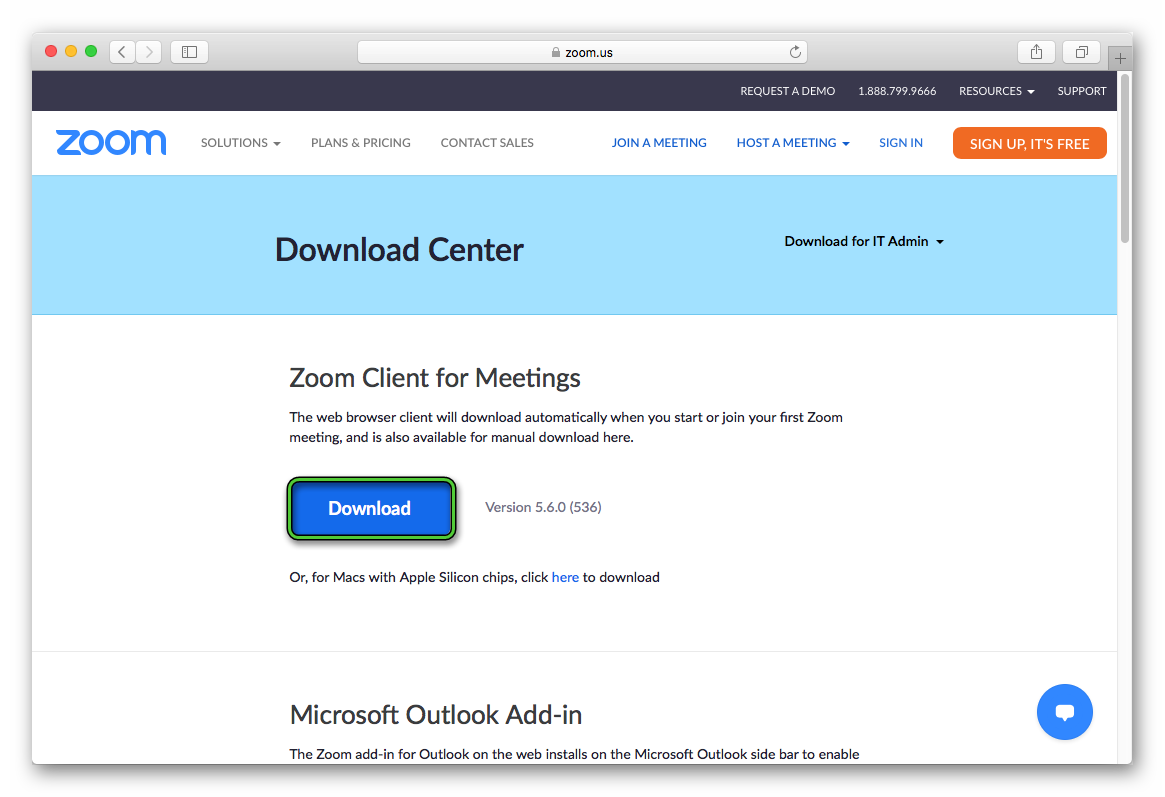
- Save the file named Zoom.pkg.
- To start the installation, open it.
- Click on «Continue» on the welcome page.
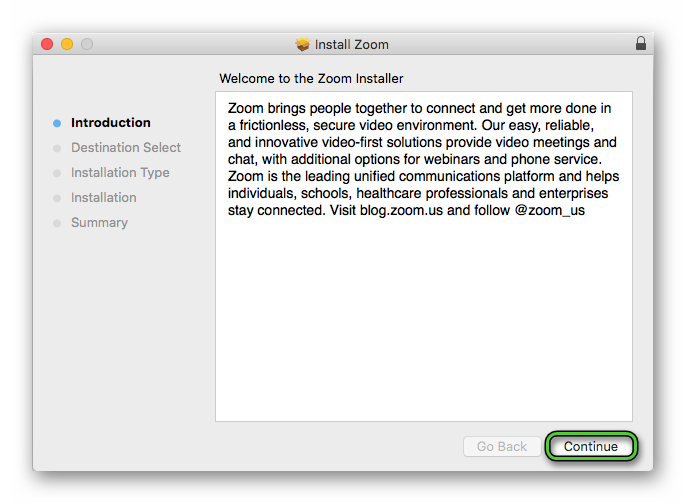
- Choose who could launch the program – all users or just you.
- And again click «Continue».
- If you wish, you can change the future directory for Zoom, but it is better to leave the default path.
- Click on the «Install» button to start the procedure.
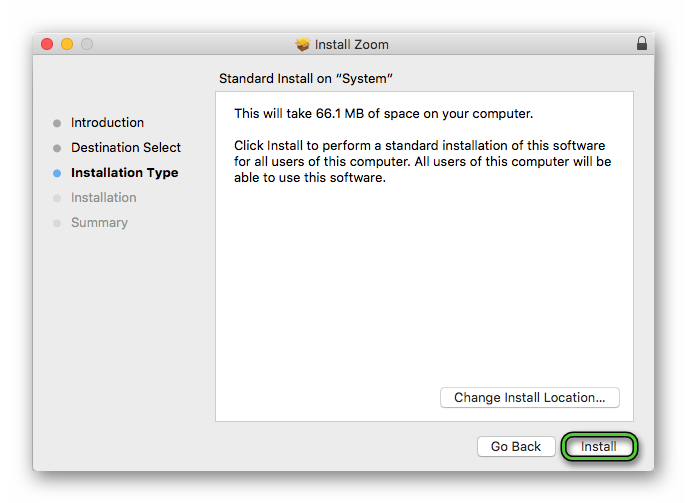
When it finishes, you can close the window.
If you have never installed programs from the Internet before, but used the Mac App Store, you may see a security lock. To continue the procedure, you need to disable it:
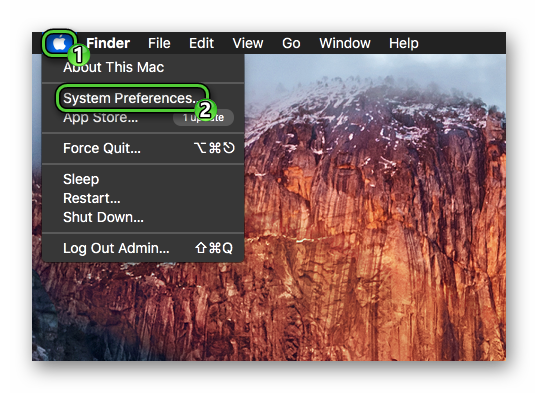
- Open «System Preferences» in any convenient way, for example, like this:
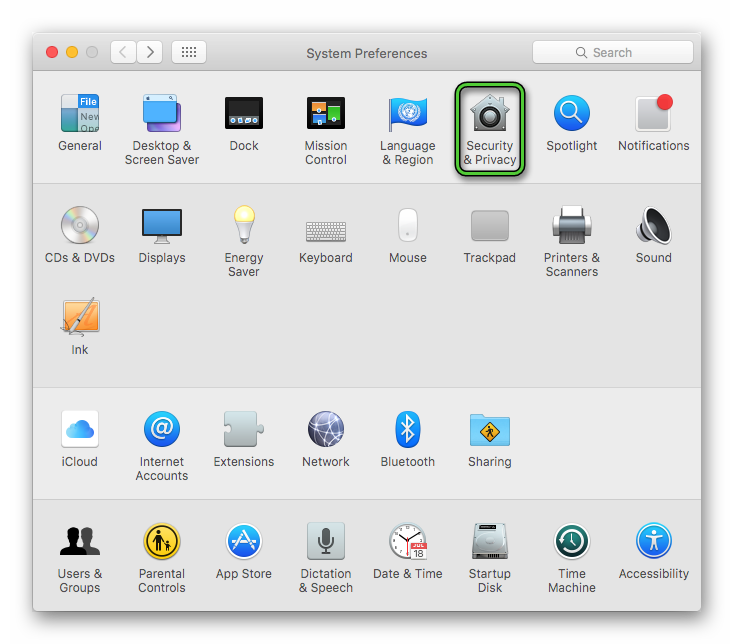
- Visit the «Security & Privacy» section.
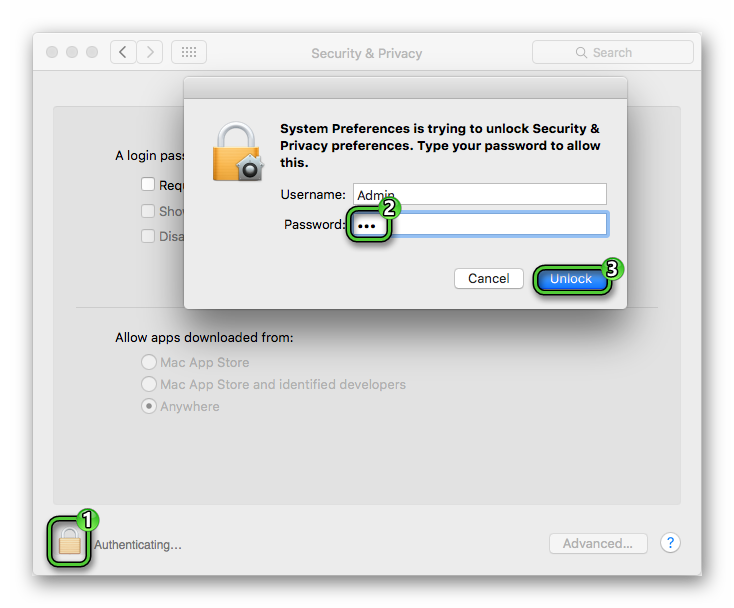
- Click on the yellow padlock icon to access the options.
- Enter password and click «Unlock».
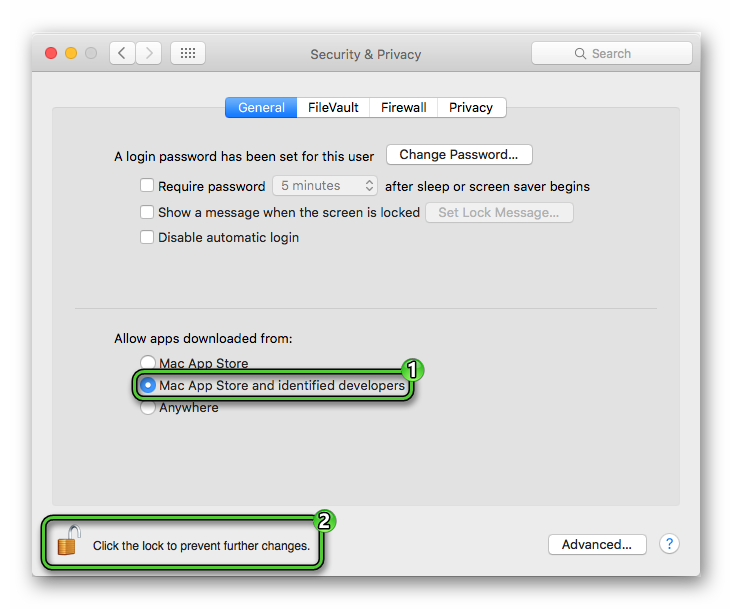
- Activate the «Mac App Store and identified developers» mode.
- Confirm the changes and click on the «lock» again.
- Repeat the previous instructions to finally install Zoom on Mac OS.
Nuances of use
When Zoom is launched for the first time, the user will see a window with two buttons:
- Join a Meeting – connect to an existing conference.
- Sign In – authorization in the account.
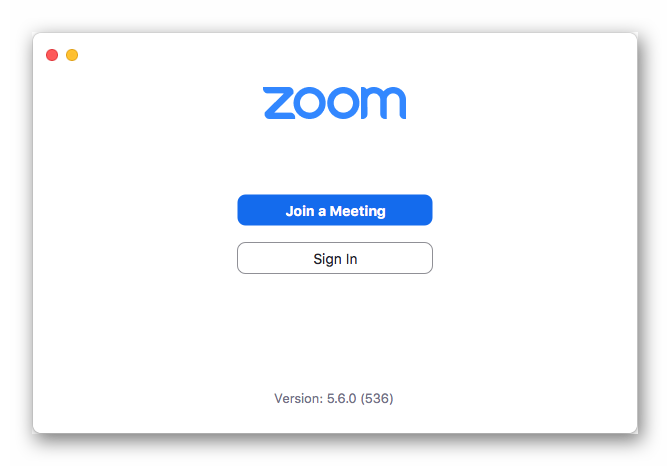 The registration procedure is not required if you just want to enter an online meeting as a participant. But it is necessary if you want to organize your own meetings and get access to other Zoom functions. We explained, how to create a new account, in this article.
There are two ways to connect existing meeting:
- Using a special link. Open it in your browser, then agree to launch Zoom app and set a display name.
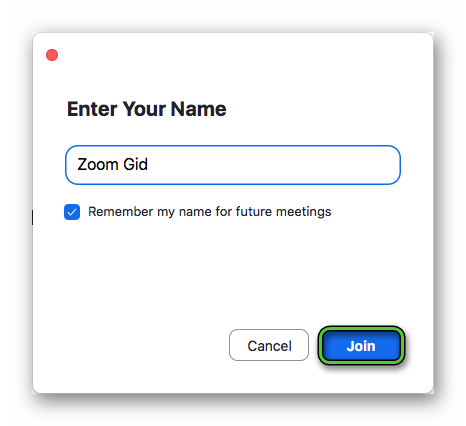
- Using the conference ID. Click «Join a Meeting», enter it and your name, configure additional audio and video parameters and click «Join» again. Then enter the passcode and confirm the connection.
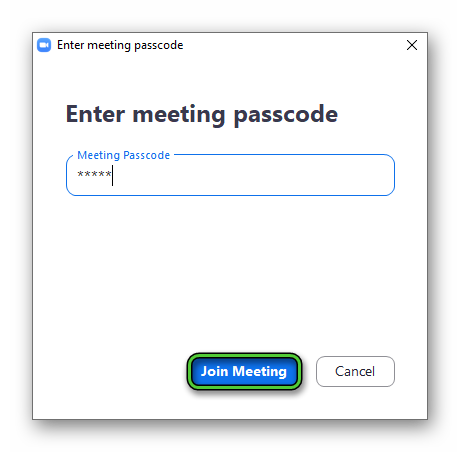
In both cases, you need to wait for the connection to the server and permission to enter from the organizer.
You can control the microphone and webcam in the lower-left corner of the screen. To go to advanced settings, click on the selected buttons: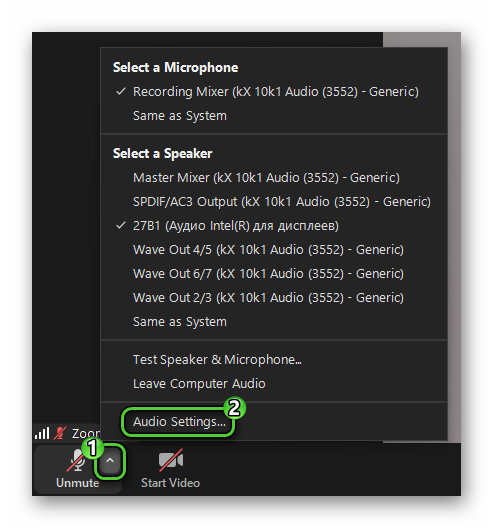
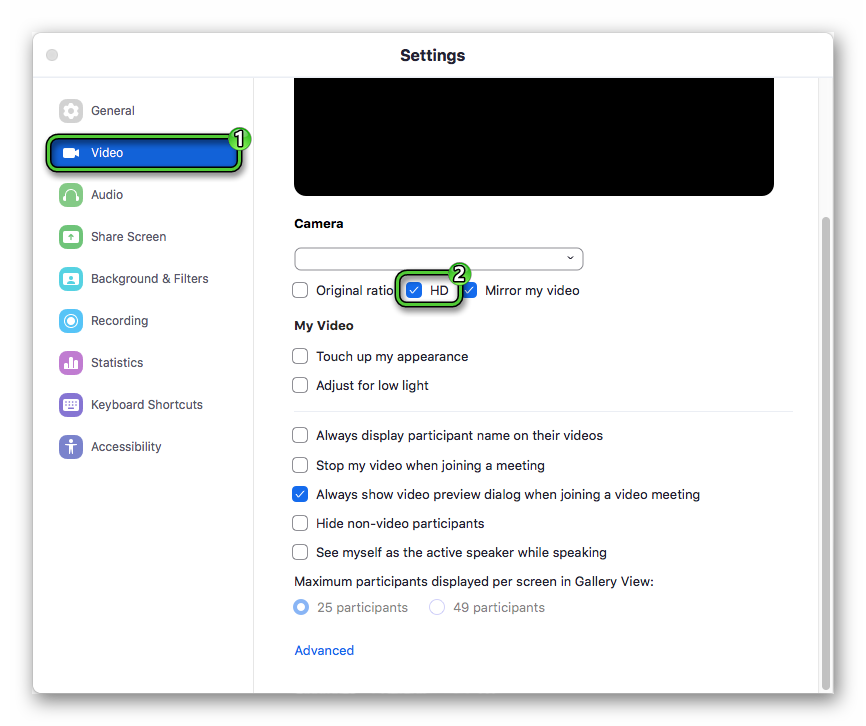
The «Audio» tab will open. Here you can adjust the speaker and microphone volume and select other output devices if needed. Also, check out the «Video» tab. There, the webcam is already configured directly. For example, if the webcam image in bad quality, then activate «HD».